Adding a Component to a Skin
Skin components allow you to add additional elements to the base of the Top Navigation skin. You can edit these components separately from the base skin. This provides more flexibility and design possibilities, allowing you to add customized menus, search bars, and tool bars, or leave them out completely.
- Right-click the Skins folder in the Project Organizer. A context menu appears.
- Select Add Skin.
- Make sure the radio button next to “New from template” is selected.
- Select the skin component you want to add in the menu under “New from template.”
- Note: Skin components are marked by HTML5 icons with the letter “c” in the lower-right corner. The four types of skin component are Menu, Search Bar, Search Results, and Topic Toolbar. Search Bar and Search Results are exclusive to Top Navigation skins.
- Type a name for the new skin component in “File Name” field.
- Click Add. The new skin component appears in the Skins folder in the Project Organizer and in the Skin Editor.
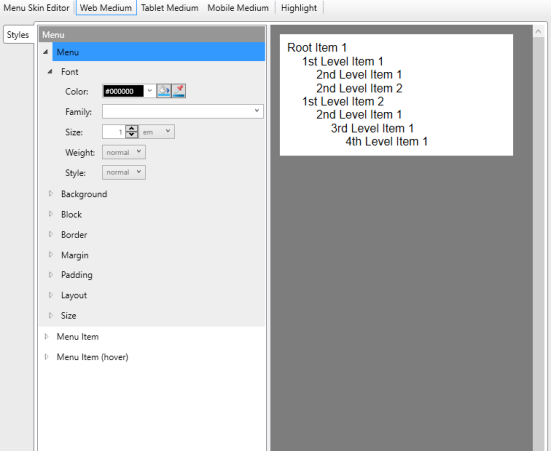
- Edit the new skin component as desired. The process is similar to that which is detailed in “Editing a Skin.”
- Open the target you want to generate output from in the Targets folder in the Project Organizer. The Target Editor appears.
- Select the Skin tab in the Target Editor.
- Select the new skin component in the drop-down menu next to the corresponding skin component type under “Component Default Skins.”

